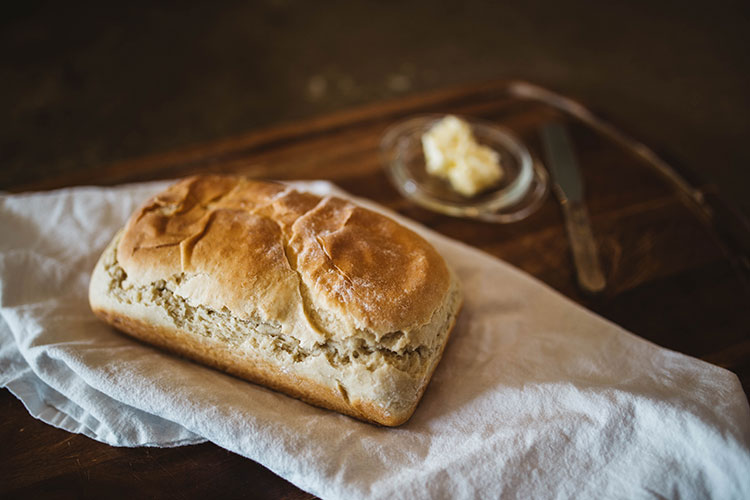
Bread tips from Louise, Coeliac UK’s new Home Economist
At Coeliac UK, our passion is to help you live well gluten free. Over the years, members have frequently told us about their challenges baking a gluten free loaf.
Enter Louise, our new Home Economist. She feels making good gluten free bread is one of the most rewarding things to do – when it works! Hearing stories of frustration and disappointment, she’s been working on some different gluten free recipes that are not only easy to make, but affordable for anybody who wants to bake bread at home.
Read on for her top tips to make sure your gluten free bread is great every time.
What’s different about gluten free bread?
Gluten gives bread its strength and elasticity and also helps it to rise. So, to achieve the taste and texture we expect from bread there are a few challenges to overcome throughout the baking process.
Mixing
In our new recipes, you’ll find that the gluten free dough is more like a batter. Make sure you measure all the ingredients out carefully and use warm (but not hot) water. Warm water gets the yeast working straight away – but boiling water will kill it.
Kneading
Here’s the good news — you can skip this step! Kneading stretches the gluten, so in gluten free recipes it isn’t always necessary.
Shaping
Due to the batter like consistency of the dough, you‘ll need to put a bit more effort into shaping. For example, hot dog rolls need piping, whilst a 2lb loaf cake tin helps loaves hold their shape. For baguettes, it’s time to get creative and make a baguette shaped case from tin foil.
Proving
This is a really important step so your bread isn’t heavy. Prove your dough in a warm, draught free place and make sure it’s covered. It should double in size before you bake. If you want to glaze or score your bread, do it before proving.
Baking bread
Four essential tips for failsafe baking:
- Make sure the oven is set and has heated to the right temperature
- Add steam for the first five minutes of cooking to improve the texture and crust formation
- Once the time is up. tap the bread on the bottom to see if it’s done – it should sound hollow
- Leave the bread to cool on a wire rack to allow the steam to escape
